The raised-edge pond building method
Building a pond doesn’t have to be so hard. The toughest parts are usually digging and hauling stone—but this method minimizes both.
You build up as you dig down, so every shovelful of dirt does double duty. Wooden stakes and garden edging define the perimeter, and Rock-on-a-Roll eliminates the need for most of the stone.
Let's start with the bottom pond.
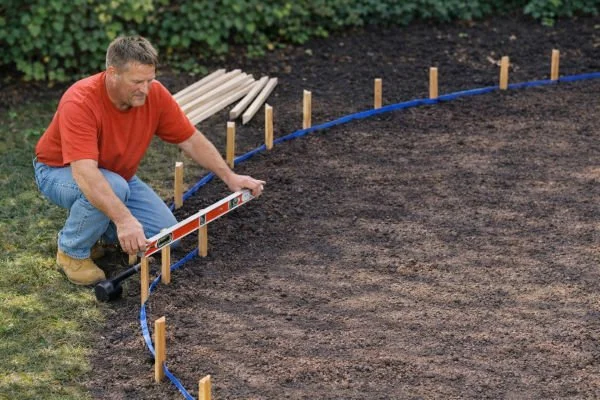
Step 1. We drive wooden stakes into the ground following the outline of the planned pond edge. The tops of the stakes determine water level, so they need to be level themselves. In this example, we decided that water level would be about 6" above existing grade. The stakes are placed 2 feet apart along gentle curves, and 1 foot apart along tight ones.
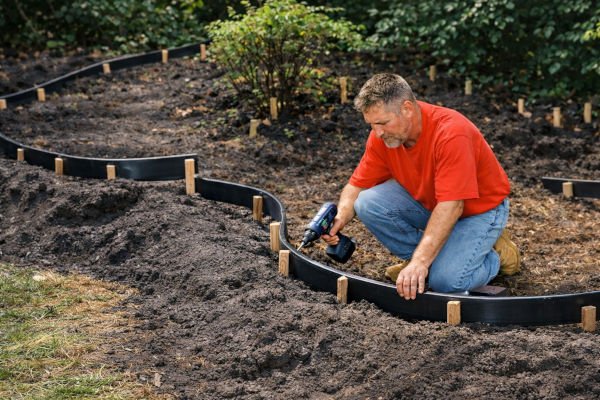
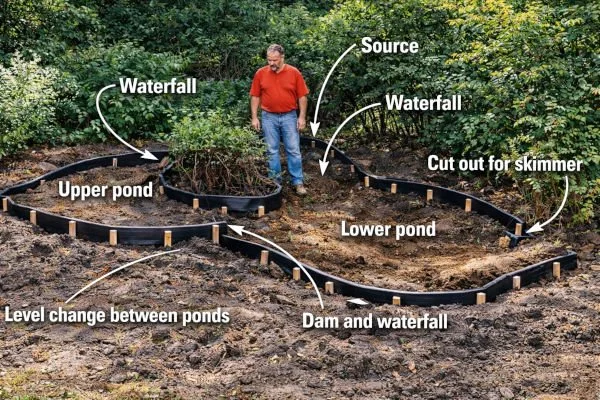
Step 2. We attach lawn edging to the wooden stakes using drywall screws. The screws hold the edging in place until it's supported with backfill. For this pond, we've planned an upper pond and stream as well. Where there is an abrupt drop off, the edging can be cut and the two pieces attached to the same stake at different levels.
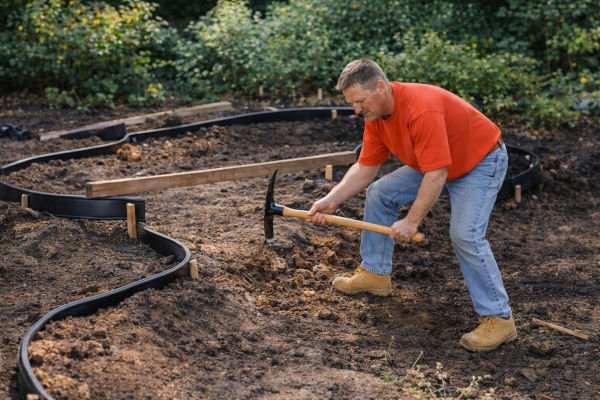
Step 3. It's time to dig! This shows the first big advantage of the technique , you already have some pond depth before you even touch a shovel. We're terracing the hole like an upside-down wedding cake with each level 6 to 8 in. deeper than the last. In the middle, we'll have a depth of about 2 feet (which we only had to dig 1 foot 6 inches to obtain). We place the excavated soil outside the edging so we can use it to backfill later.
Here you see the pond outlined and dug.
Step 4. We lay down protective fabric to guard against puncture from the bottom. Here we are using geotextile fabric, but old carpets or blankets also work well - just be sure there aren't any staples left in the carpeting.
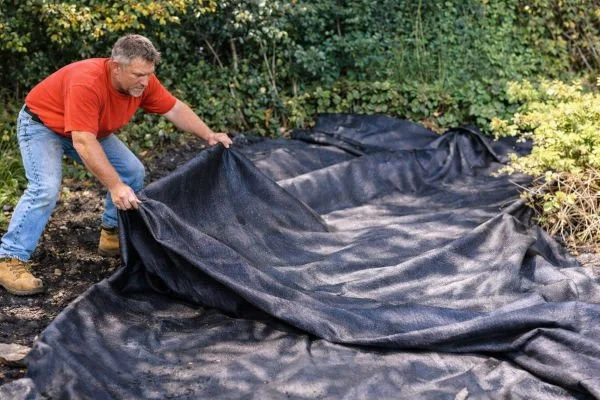
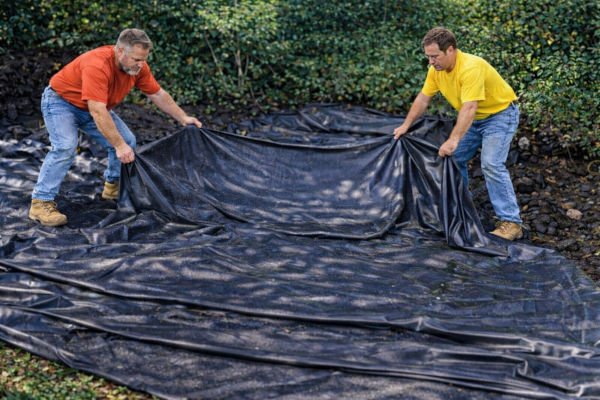
Step 5. We line the pond. We used a single piece to cover the entire project. If size or shape prohibit that, each pond or stream can be lined with a separate piece, overlapping the uphill piece into the top of the downhill piece. Lay the liner over the lawn edging, smooth it as much as possible, and consolidate folds. Streams should have folds facing downstream.
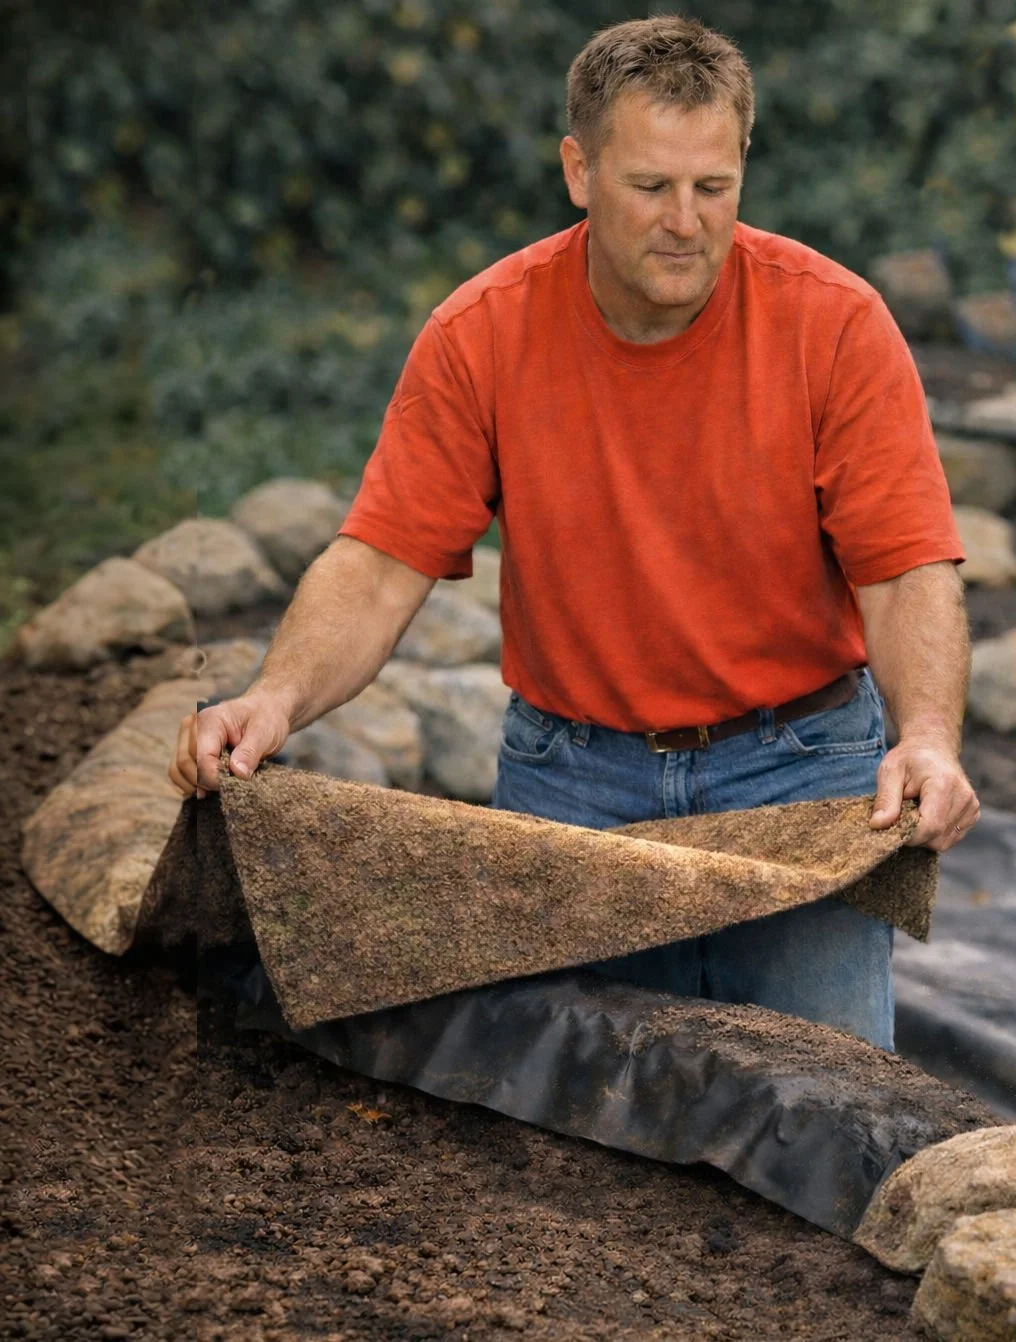
Step 6. Traditionally, DIYers have used rock and sometimes concrete to hide black liners and protect them from UV rays. Instead, we use Rock-on-a-Roll which provides protection without bulk. Rock-on-a-Roll is only 3/32 in. thick, and at 8 pounds for a 3 x 8 ft. roll, it's easy to work with. It's flexible so it conforms to edges and contours. We lay the Rock-on-a-Roll over the edging so that about 6 in. is hanging off the back.
Step 7. We backfill up against the side of the pond using the fill that we previously excavated.
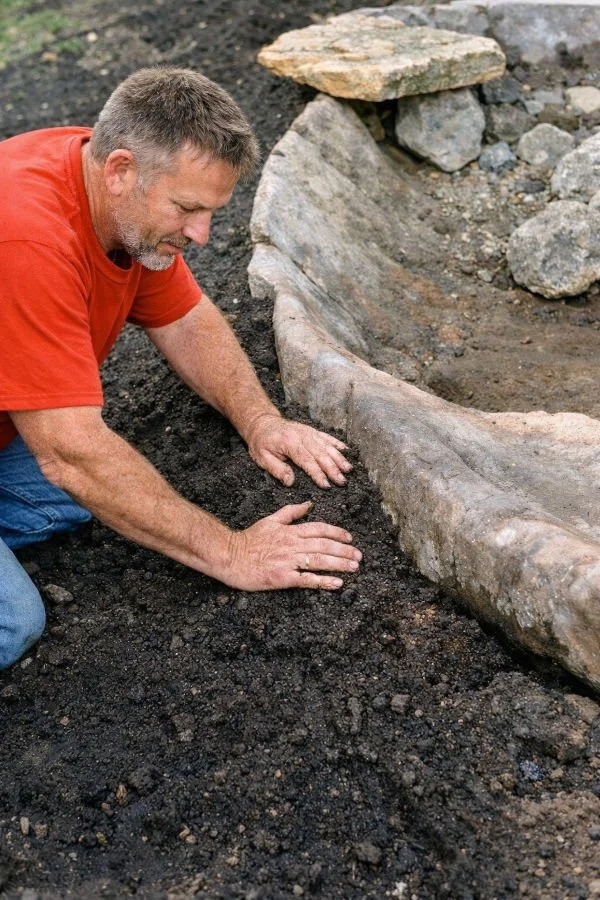
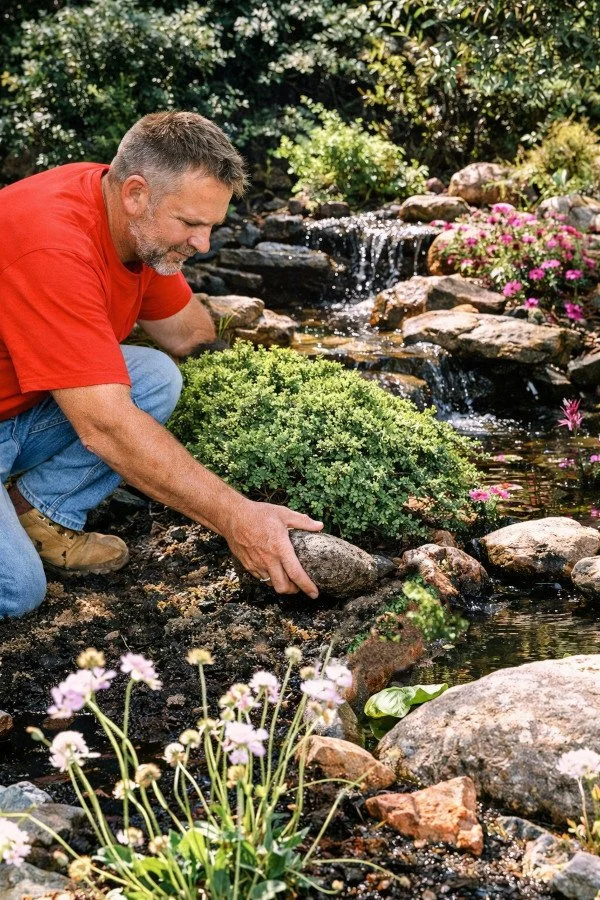
Step 8. The thin edge that results from this technique makes the pond's rim easy to soften with plants. Low spreading ones, such as Japanese Junipers and ground covers look particularly good. We use some stone as accents.

Have questions about your own pond project? Email them to us with a few pictures. Over the last 18 years of building ponds we have seen many situations, and will be happy to discuss your project with you.